I hate power bars.
Every time I try one, all I taste is mealy protein and a cloying sweetness. It definitely is not powerful-tasting and it definitely makes me sad and un-replenished after a workout.
But did you know that you can actually make your own power bars that are both powerful-tasting and delicious? DIDJA? Because I didn’t. Not until I was gifted this amazing cookbook that has officially changed my perspective on power bars forever.
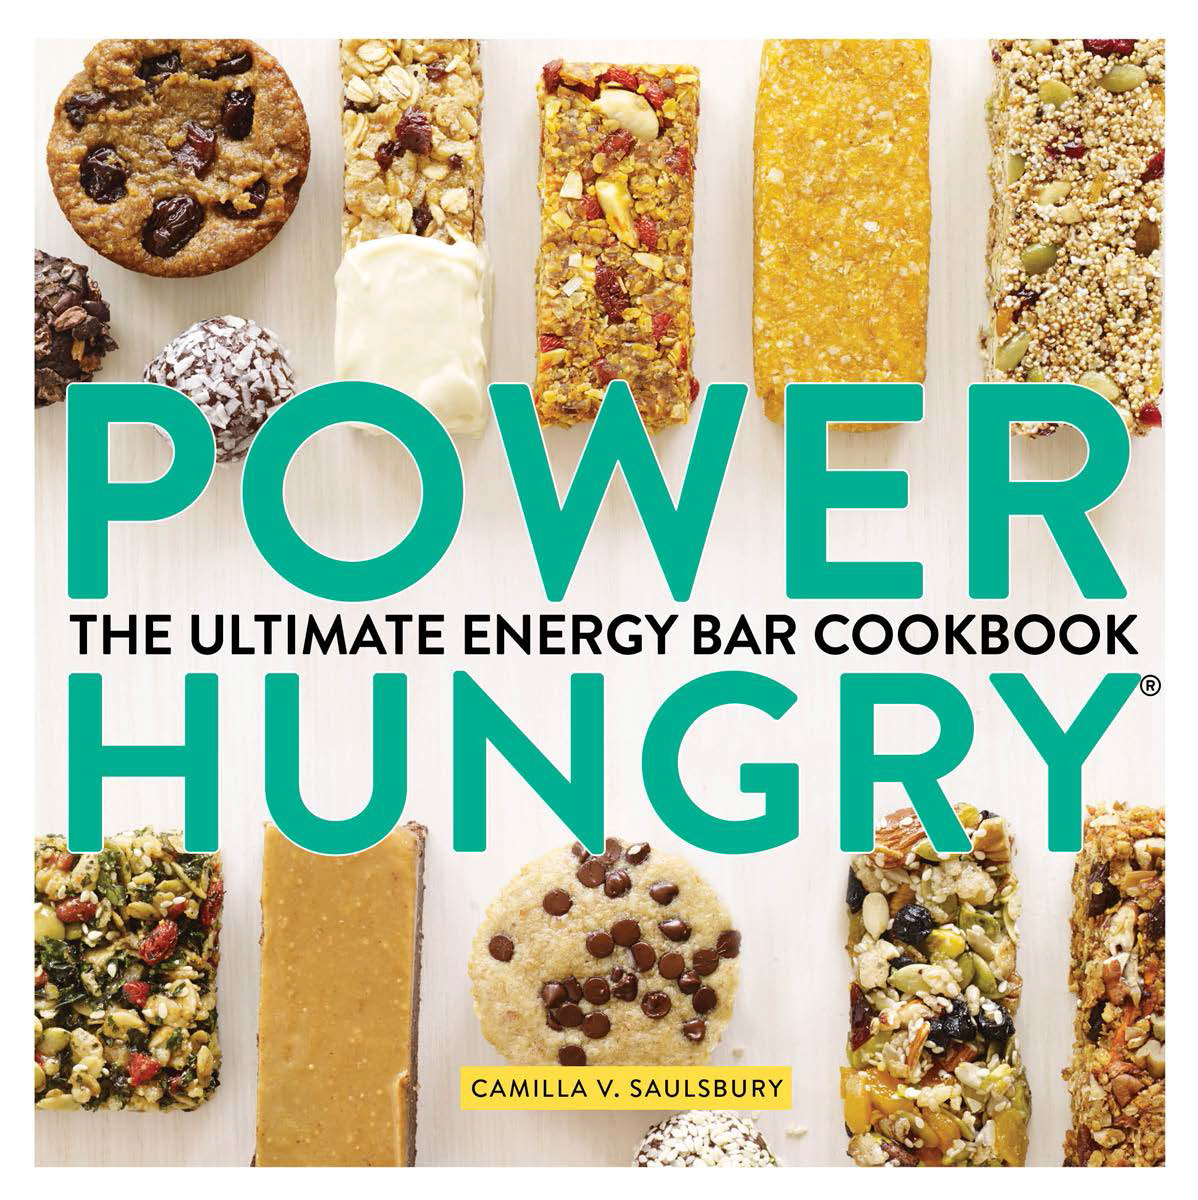
Power Hungry: The Ultimate Energy Bar Cookbook (Lake Isle Press, 2013) by Camilla V. Saulsbury gives you all the necessities for DIY power bars. I’m loving this book because there are so many recipes based on what you like (Chocolate chip or walnuts? Oats or dates?). The book is also broken up into familiar categories, so you can make bars based on whether you want something for endurance, a protein boost, or a knock-off of a bar you already know.
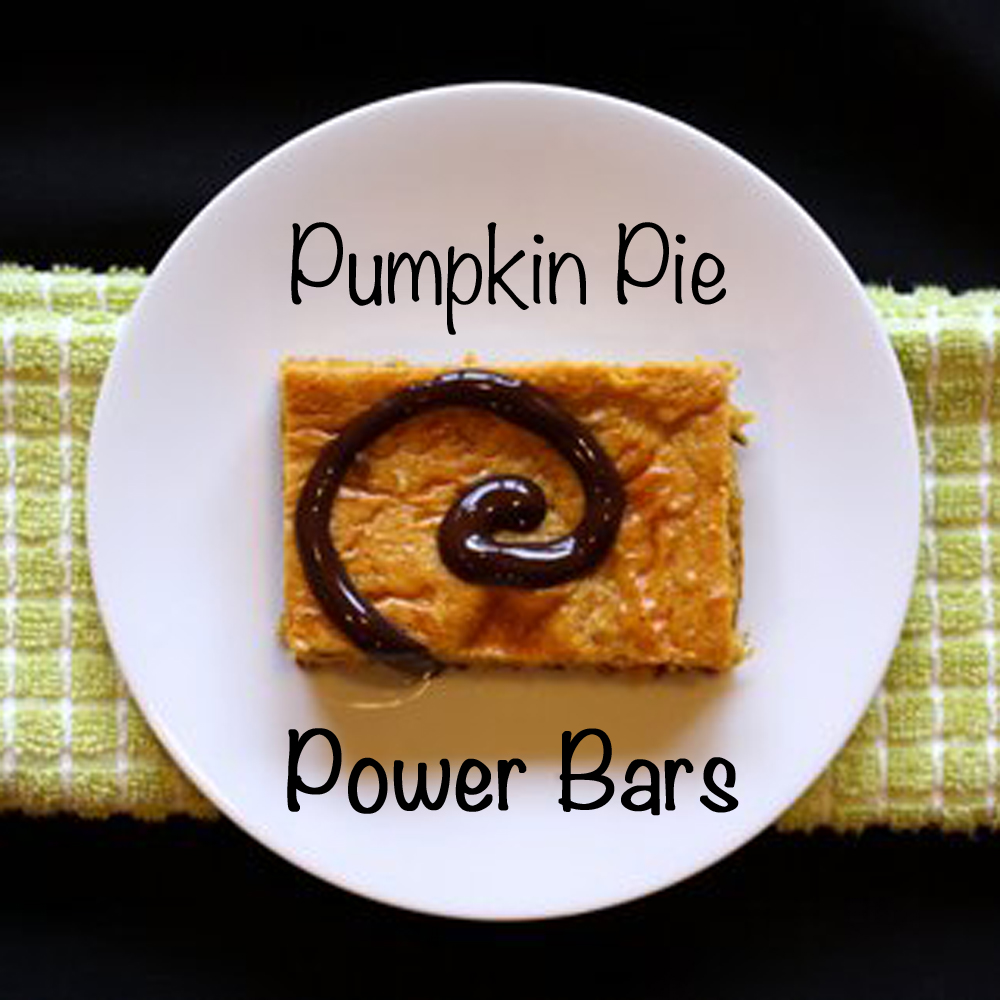
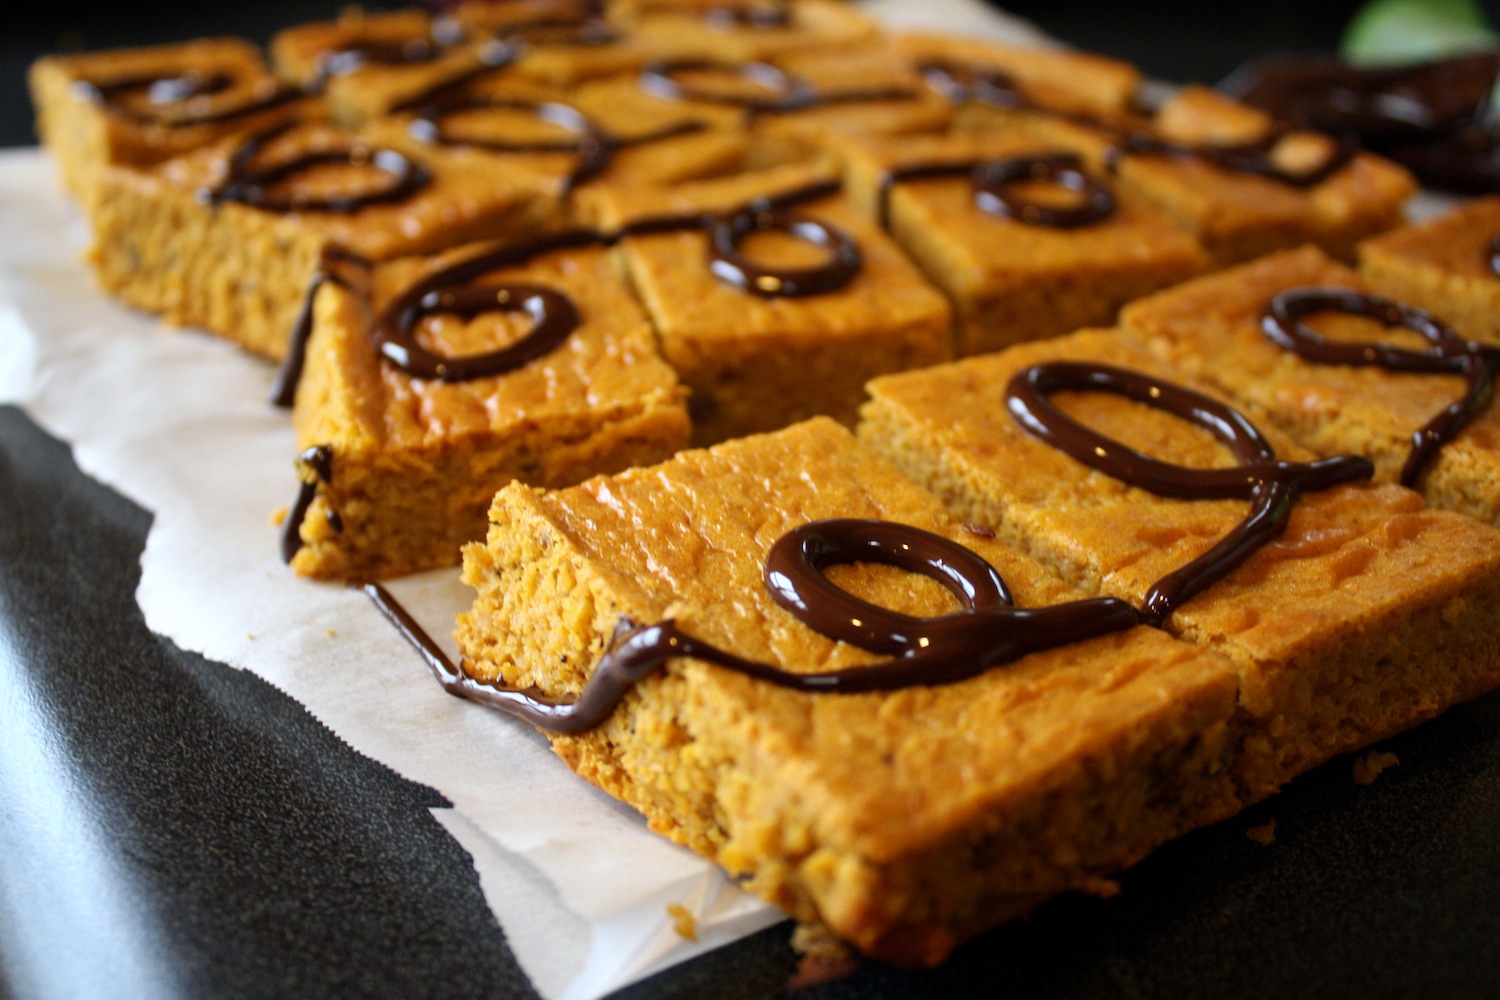
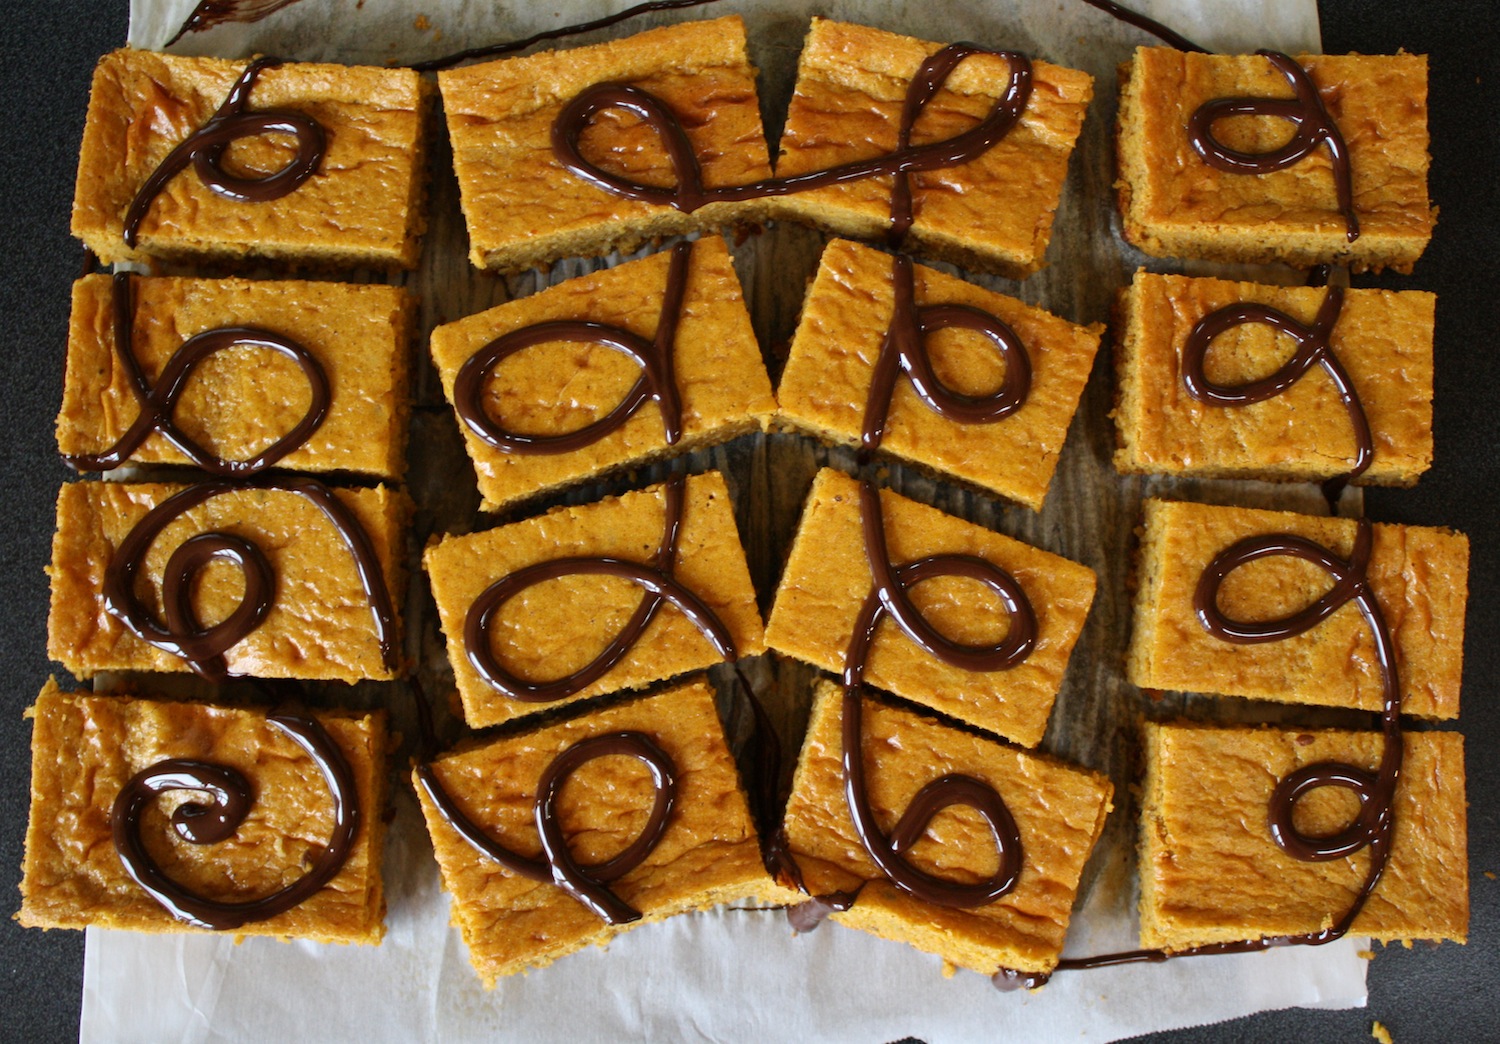
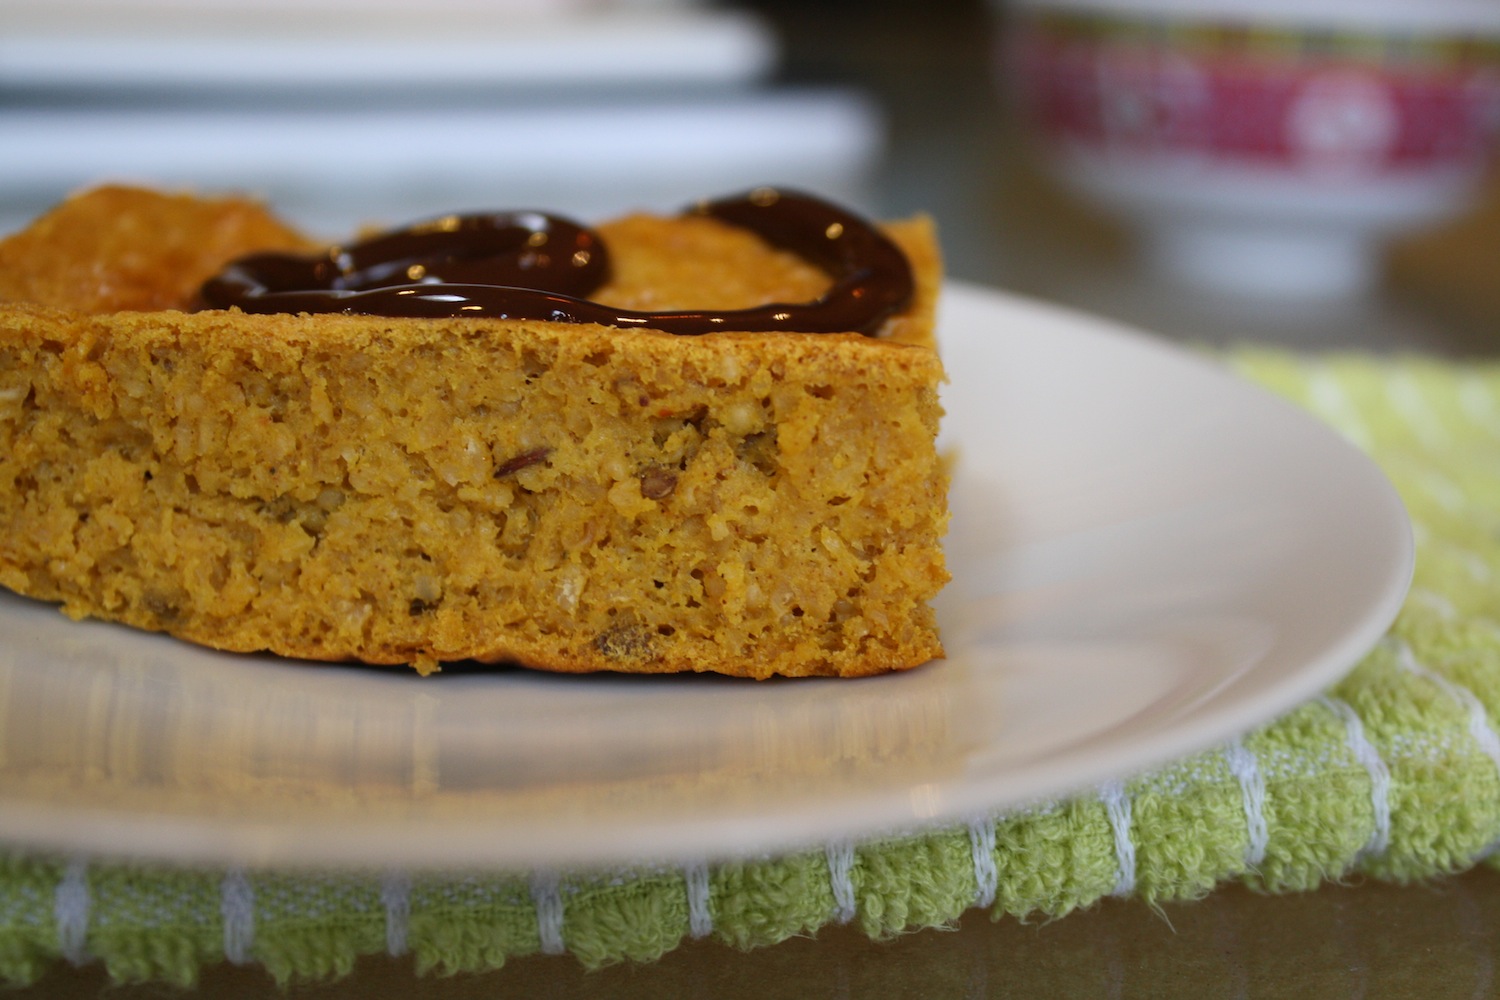
In the spirit of fall and the fact that my life has basically become one giant orb of a pumpkin, I tweaked one of Camille’s recipes for a pumpkin pie power bar. Gluten-free and packed with protein, this bar makes for a great post-workout snack or a power breakfast, clocking in at 130 calories each and 12 grams of protein. I didn’t go too crazy with the chocolate topping, but of course modify as you like. Throw in some pepitas or substitute maple syrup for the honey for even more fall-ification.
This is a great book for those of you who like me, work out regularly and want quick, on-the-go nutrition that doesn’t taste like cardboard. Most of the bars are one-bowl recipes, too, so they’re super easy to clean up after – I’m so stoked!
Have any of you ever made your own power bars before?
Pumpkin Pie Power Bars
(adapted from Power Hungry)
[ingredients]
Directions
- Preheat the oven to 350 degrees. Grease a 9×13 baking pan and line with parchment paper. Grease again and set aside.
- In a food processor or blender, blend the oats until they are almost to a powder. Empty into a stand mixer fitted with a whisk attachment.
- Whisk in all the remaining ingredients except for the chocolate. Spread evenly in prepared pan.
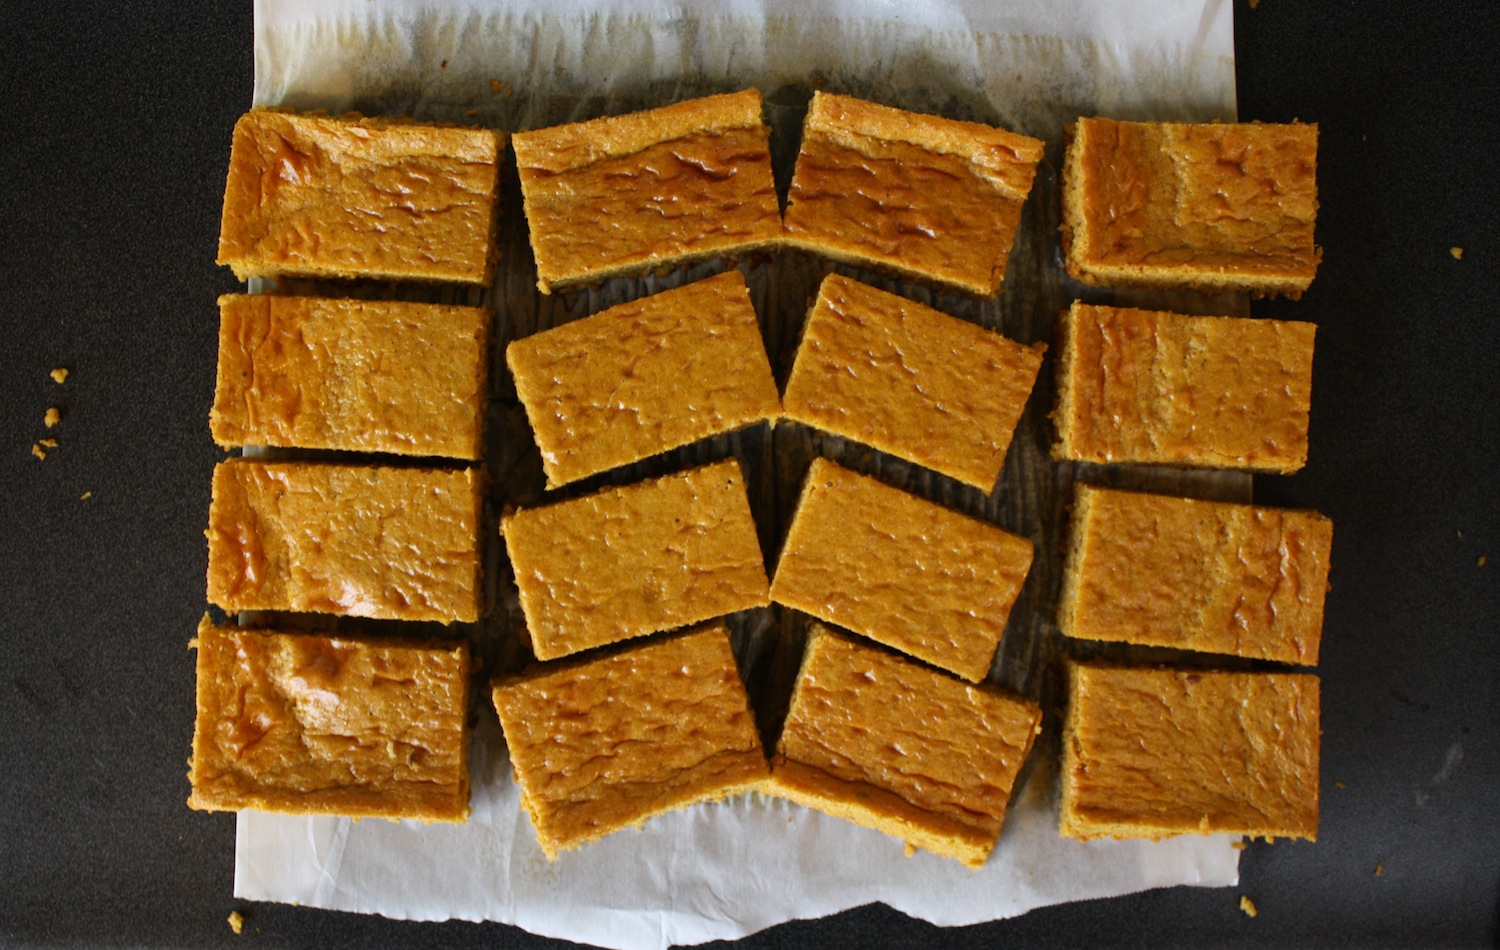
- Bake for 27-29 minutes or until the edges begin to brown and a toothpick inserted in the center comes out clean. Cool completely on a wire rack.
- Place the chocolate in a heat-proof bowl and microwave at 20-second intervals, stirring each time until melted through. Drizzle over cooled bars. Cut bars into 16 servings. Store in the refrigerator or freezer.

UMMM YUM. This looks amazing and I def need to check out that book! xo
Just borrow it from me! I have a feeling that you’ll love it.
I want oneee. Or 5.
Girl, I’ve eaten so many of them, guilt-free!
These are the best looking power bars I’ve ever seen. Heck, they look good enough to eat for dessert. And that’s saying something! 😉
Thanks Carolyn! They are definitely guilt-free, and so I would totally eat them for dessert!
These pumpkin bars look perfect. Love the color, I can almost “feel” the consistency. I made something similar recently. I wanna now try this recipe – I am a big Greek yogurt lover!
Oooh, what did you make, and how did it turn out? Greek yogurt is the best!
they sounds like yummy healthy bars!
Dina, they are! Also, anything with pumpkin is just the best.
Yummm these look so good! I am loving pumpkin so much right now!